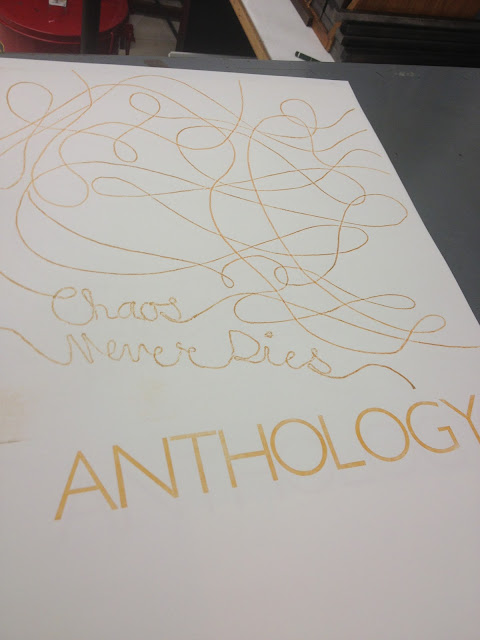
The watermark animation project I've been working on since last semester finally took a few big leaps forward. The first few experiments for this project were carried out at Auroville Papers in Auroville, Pondicherry. They have always been supportive of my work and generous with their space, materials and brainstorming!
This was the starting point for the project. A set of pencil drawings that I later used to create the marks
A soldered watermark or wire-mark I made using 7 pieces of copper wire.
In order to replicate each frame exactly, a soldering jig needed to be made
In order to replicate each frame exactly, a soldering jig needed to be made
I carved out the 'jig' on a soft piece of stone so that the wire could be moulded using the incisions
These indentations would help hold the wires in place while soldering. That was the hope anyway
Frame 1, almost ready
Using a piece of metal to hold the pieces down and deflect the heat
Sewing the wire-mark onto the mould surface
I used the pulp available at the time. Auroville Papers' alphabet paper
The pulp could stand to be shorter, but the watermark seemed to come out just fine

Readying frame 2

The piece to be attached onto the second frame was tiny! It was very difficult to try and solder. At this point, I decided to switch tracks. Soldering wire to make the frames wasn't a viable solution, especially if one were to make 1000s of frames for a longer film!

So I decided to lasercut the frames. The list of materials that could be used now expanded, but choosing the right one took a while. Some of the materials I tried included Plexiglas, Mylar, Adhesive-backed mount board and a mark made using a 3D printer. The paper on which the marks are placed was made using the 3D printed mark and short cotton linters beaten for 1.45 hours
The Biology department's awesome laser cutting machine was used to cut these watermarks out of Delrin, a durable plastic. Jeremy Richardson who runs the shop suggested that this might be the best material. He helped iron out all the kinks after watching the papermaking process and helped find the best solution to adhere the mark onto the mould surface without compromising either the mark or the surface or the mould
Tim and Jeremy were pretty excited about this project. This was the second set of marks that were made for the project. Each piece was looked at under the microscope to ensure there were no burrs as these would catch the fiber and make couching very difficult
Freshly formed sheet waiting to be couched. This sheet was made with the first set of marks and adhered with spray-on adhesive - nasty stuff! The adhesive was extremely sticky and not only made it very difficult to lay the marks onto the mould, but caught onto the fiber during sheetforming and couching!
Water needed to be applied to the back of the mould to help the sheet release during couching
The spray-on adhesive still made the process difficult and extremely disappointing.
The sheets just would not couch!
The sheets just would not couch!
The adhesive wasn't strong enough and ended up releasing the marks into the sheet itself
Not to mention the other damage it caused

This is what the finished sheet ended up as!

After trying a number of adhesives over weeks of experimentation Richards finally devised a method of applying and using Epoxy. The only downside - it took an hour minimum to set!

But once set, it could withstand the pressure of the water during cleaning, the papermaking process as well couching. This adhesive despite its downside was a success. Not to mention that it came off easily without compromising either the mould surface or the mark!
Thanks to all this problem solving and the right material and adhesive, the watermarks came out clear as day!
The detail was amazing! But there was one last thing I wanted to try.
Something to speed up the process - superglue!
Something to speed up the process - superglue!
I tried 12 frames with Epoxy and 10 with superglue. The Epoxy won hands down, because as you can see the superglue, though it took only 10 second to set, held onto the little fibers and created an unclear watermark.
The entire process of sheetforming (4-8 sheets were made per frame), including wait time took about 30 hours
After discussing the animation with Richards, he devised a jig to register all the frames at the same position.
This was a great help.
This was a great help.
He also came up with a jig that would be able to register frames that move across the surface of the mould - something I am excited to try next semester!
Here is the completed animation! A big thank you to everyone who helped make this a possibility!

This work is licensed under a Creative Commons Attribution-NonCommercial-NoDerivs 3.0 Unported License.
This work is licensed under a Creative Commons Attribution-NonCommercial-NoDerivs 3.0 Unported License.


.sm.jpg)


