Thursday, December 10, 2015

Kata-Kata!


This week at the Morgan Conservatory I was lucky enough to attend and witness a traditional method of stenciling by hand on paper and cloth. The method is called Katazome, and it was demonstrated by two talented Katazome artists, Chie Takai and Takeshi Matsunaga, who go by Kata-Kata. They visited Cleveland especially for this event all the way from Japan. As I watched them work, I realized that I was witnessing one of those things you would never have the chance to see unless you went to Japan.


The resist is a combination of rice cake flour and rice bran mixed together
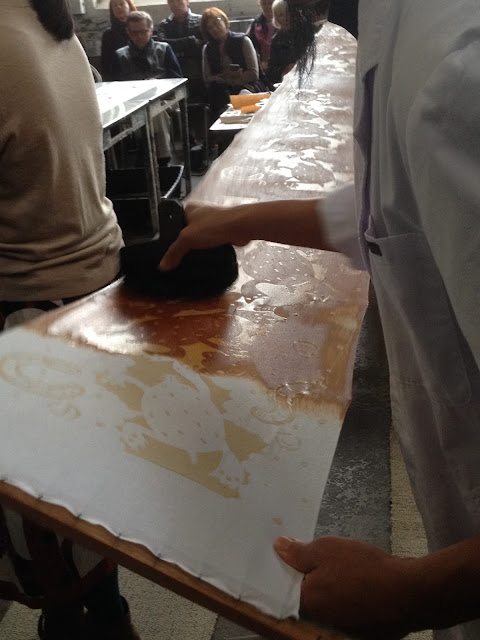
and then steamed to make a paste that is then applied.
The paste is pushed through a stencil. The stencil was traditionally made using 3 layers of persimmon dyed washi laminated with a fine gauze covered in lacquer. Before gauze, people would embed silk threads in between each sheet of washi to provide the structural integrity needed to use the piece as a stencil.  


After a few passes, the paste looks even on the surface of the cloth.


The stencil is then carefully listed off the cloth to be replaced on another part of the cloth, with perfect registration.


The cloth is stretched out using two wooden frames on either side, with nails. An elegant design, made by hand. 


These bamboo 'stretchers' are also handmade. They have thin pins that protrude from the ends. The length of the bamboo is longer that the width of the piece of cloth to be stretched.


Another elegant and simple solution.


The cloth is then suspended between two poles, and left to dry overnight.


The next day, dye was brushed onto this cloth, pretty vigorously. The dye which was used was mixed with nori or seaweed, which what I understood, prevented the dye from seeping through to the other side of the cloth.


Katazome on paper is slightly different. The rice paste is stenciled onto paper. The paper is usually made from Kozo and treated with Kon'nyaku to give it wet strength. It is also taped down to prevent warping.


I failed to tape mine down securely overnight and it warped and cracked. It relaxed after I spritzed it though, and was just fine. This is one the Kata-Kata stencils of a bear holding a salmon, which I was lucky enough to try my hand at stenciling.


The pigment that was used was powder which was mixed with soy milk, which of course was made from scratch. 


Soy beans were soaked overnight, and then pulverized in a blender and strained to produce the milk. This was mixed in with the pigment to act as the protein binder for application on paper.


The pigment can then be brushed onto the paper carefully and left to dry for half an hour between applications of colour. For rich colours, layers of pigment can be applied.


It doesn't look like much when its drying. After it is completely dry, it needs to be ironed for a few minutes on the back. This helps the colour set. When working with cloth, the cloth is steamed in a chamber to help the colour set.


The paper and/or cloth are then soaked overnight in water. The rice paste just washes away and leaves a beautiful print behind! Be sure to check out the Kata-Kata website and blog!


Thursday, November 12, 2015

Friends of Dard Hunter Conference, Banff, Canada


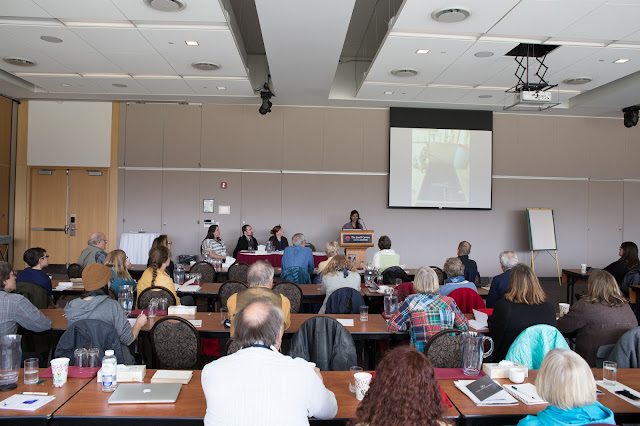
The Friends of Dard Hunter Conference this year was at Banff in Alberta, Canada. The location was the Banff Center that was in the middle (at least thats what it seemed like) of the mountains! It was hard to focus on the excellent presentations because of the generous ceiling-to-floor windows that were in every room.


I presented on Auroville Papers: An Innovation in Paper in India. I spoke about their excellent system for water filtration, and of course their work model, and beautiful paper products.

  
It was hard to focus on the actual presentation, because this is what I was looking out at!


I also gave a demonstration of Islamic World Papermaking, which I have been researching for some time now. Attendees were extremely interested in the process and the end results.


I had a table with various paper samples laid out. The two dark coloured papers you see are made by Mohammed Hussain Kagzi. He sells these traditionally made papers through his website
 as well as through this website. I also had on display, papers from my research based on traditional methods of fermenting hemp fibers for sheet formation. 


After two full back-to-back days of programming, I took a road trip with a couple of friends through Banff, and into British Colombia. Here is some beautiful frosted grass before the sun melted it away.


Here is the crystal clear Lake Louise.


The blue of this water was just remarkable...


...as well as the simply the grand scale of all the nature around us that day.


Saturday, October 17, 2015

Weaving a Chapri

In preparation for my class at the Morgan Conservatory, I decided to weave the flexible grass mat, or chapri, used in the papermaking process. I didn't have access to the right kind of grass, so I decided to make it out of bamboo splints. After a lot of searching and consultation with Timothy Barrett as to what diameter what best, I bought packs of bamboo skewers from the local Chinese grocery store and started pulling splints to draw them down to the right diameter. 


 The process of drawing splints was long and tedious. Each one took about 10-12 minutes. In order to make a chapri 14" in length, I had to pull 266 bamboo skewers.


The jig used to weave the flexible mat was fashioned by Timothy Barrett. This particular weaving jig can be used to weave any size mat for papermaking.
 

The knot that I used to tie the fishing line used for weaving onto the bobbins was one referenced in Tim Barrett's book, Japanese Papermaking.


The bobbins I used were a good weight and were made specifically for weaving mould surafces.


I used a piece of board to the left of the jig to help align the splints during the weaving process.


Pulling the splints for weaving this chapri took about 2 months.
Weaving them into a flexible mould surface took only 3 hours!


Overall, very satisfying process. I can't wait to make more!


Friday, October 16, 2015

Islamic World Papermaking at the Morgan Conservatory

Its been a while since I posted, and that's because I was busy getting ready to move to Cleveland to start working at the Morgan Conservatory! I have now been here for about three months and its been busy, busy, busy. I started off my time here by teaching what is known in the western world as Islamic World Papermaking workshop. Of course, there is nothing Islamic about this type of papermaking, just as there is nothing Christian about western style papermaking or Buddhist about Eastern style papermaking.

We started with slides, and videos of Mohammad Hussain Kagzi making paper. You can read more about him, and his beautiful traditional handmade papers here. He sells these papers online in the US, here.


The impact of Islamic papermaking on the west is little known. During my research and time spent with the Hussain Kagzis I realized that they are a precious link to our history and provide an insight like no other. In an effort to highlight and promote their exquisite craft, skill and history, I have been giving presentations, demonstrations and now, a workshop on traditional papermaking in India or Islamic world papermaking.


The day began with a brief history, and exquisite paper samples from Mohammad Hussain Kagzi's paper unit in India. The two highly burnished papers are made by him. The white sheet of paper on the right, by me.


I had brought some fermented hemp with me which I cooked and prepared for the class. Watching over a cook and monitoring the beat was part of the first day of class.


We then had a demonstration of the papermaking technique as seen in the video of the Kagzis, and everyone was left to practice sheetforming themselves for the rest of the day.


 The vats were set up to emulate the dug-out vats that the Kagzis use in Sanganer, Rajasthan. Their way of having a slanted bottom helps use less water during sheetforming- a brilliant innovation for papermaking in the desert!


We had vats of hemp half-stuff, a cotton-abaca blend and the fermented hemp fibers to work with.


On the second day, we tried out different sizes and some brushed-on natural dye. We tried ahaar, or egg size, wheat starch size, and dye made from heads of Dahlias.


Finished sheets were burnished using bone folders on smooth wooden boards.


Tuesday, April 21, 2015

Art of the Book: Solo Show at the Experimental Art Gallery

I will be exhibiting my artist bookwork from the last 5 years at Habitat in the Experimental Arts Gallery next week.
It would be wonderful if you could make it. I will also be talking about Book Arts, and conducting workshops. Email me for more information. The workshop details are below, and the exhibition poster is attached with this email.

Hope you can make it!


2-day workshop, 25-26 April 2015
Make an Artist's Book
Decorative bookbinding and low-tech printing methods

On the first day we will learn two basic bindings and learn how to generate content for our books. Participants will learn low-tech printing and image-making methods and create imagery for their books. On the second day, we will bind these pages together to make your very own artist's book!


Date : Saturday - Sunday, 25-26 April 2015
Timings : 10 am - 1 pm on both days

Cost : Rs. 5,000 total (materials and tools included)
Venue : Experimental Arts Gallery, Habitat Center

Participants will leave with 1 completed artist's books and examples of three binding styles by the end of the second day.


Saturday, February 21, 2015

Women's Studio Workshop: Update

Lizz just posted a great article about my project with some beautiful photographs. Read all about it here and about the finished book here.


It feels like it has been snowing non-stop since I arrived


 The icicles have been building for days and look almost like they are going to become pillars!


Going for short walks after a snowfall has been something I have been enjoying.
Its also perfect time to be printing in the studio


The binding of the book I am working on has been revised and is working better- more handle-able
and able to stand up for display


I cut 50 sheets of Sakamoto and 75 sheets of Kitakata for an edition of 50 books. The barn was freeeeezing but a couple of space heaters did the job. Plus, when the board shear and guillotine are so
wonderful to work with, the cold bothers you less!


Starting on the second run of the first spread


I managed to finish up all the image runs in a couple of days


Meanwhile- I have been teaching the Art-in-Education classes


Some students really enjoyed making their paper portraits


Some are particularly fetching and simple,


And some are more complex...


 and involved


After printing all the images and the colophon, I decided to start on cutting the shapes out.
I used Mylar stencils to help with accuracy and registration


Ten down, fifty more to go!


With all the squares finished, I started on the triangles


These were harder to register, but I go them all cut finally!


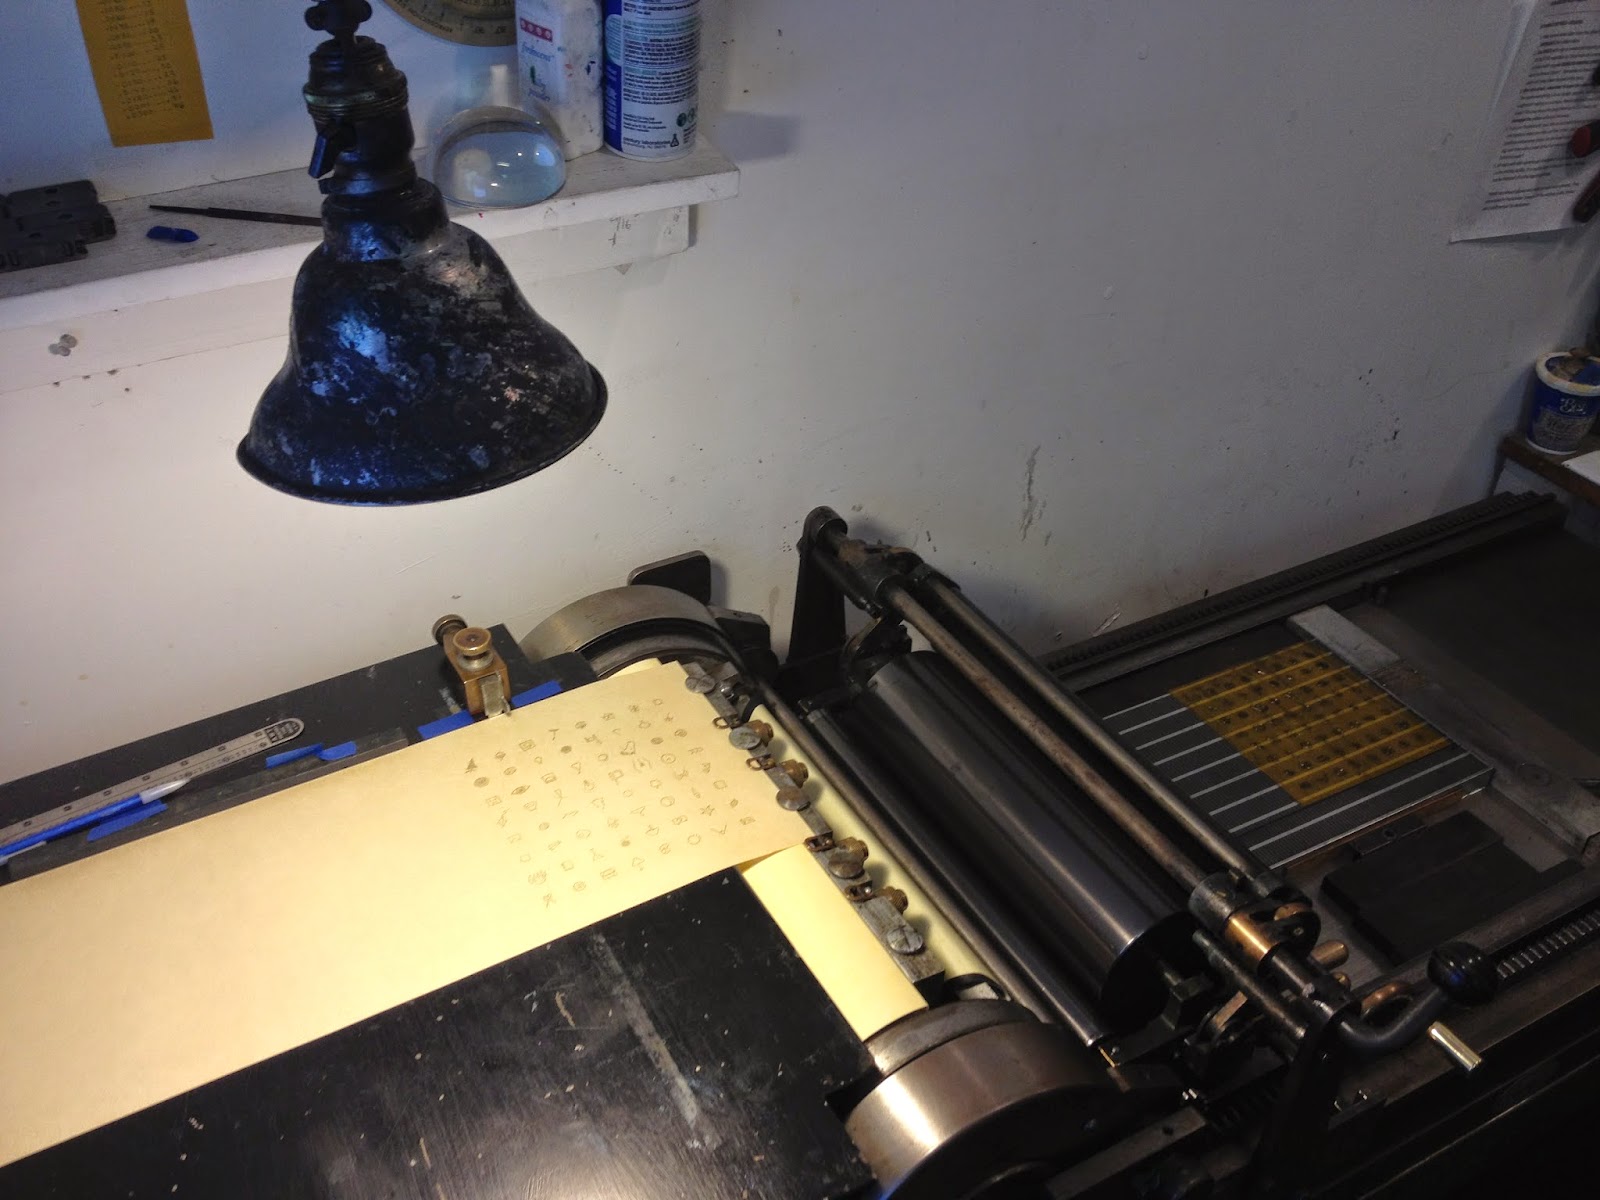
And I finally finished printing the title
Now to fold, fold fold!