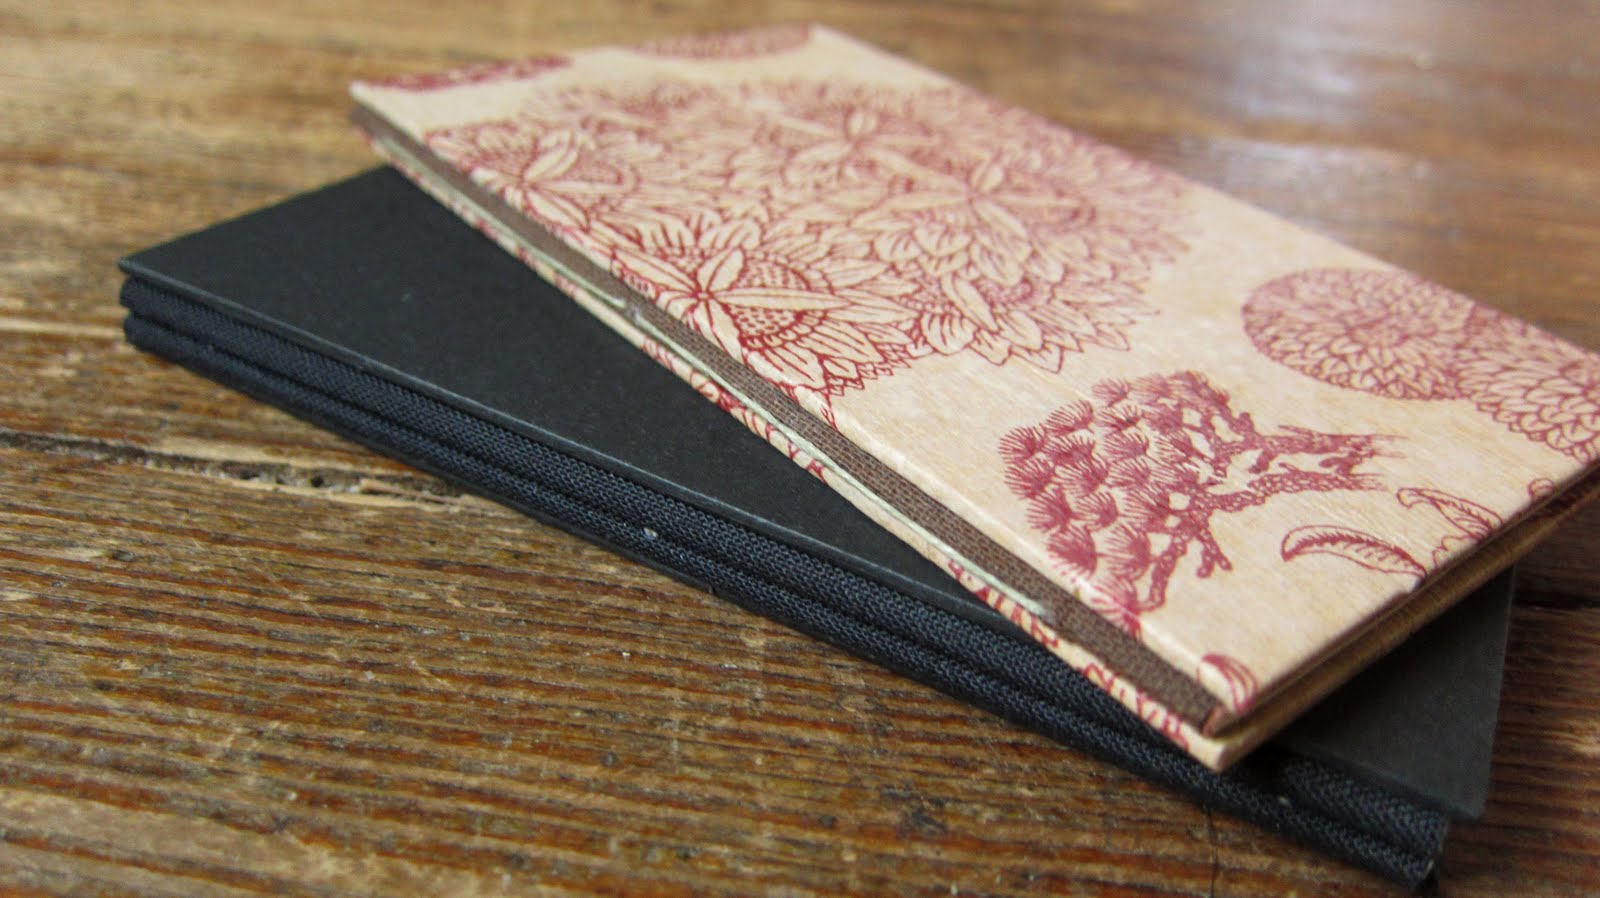
I had written a while ago about Islamic Sheetforming and posted a video of the sheetforming itself.
For my final papermaking project, my goal was to make Japanese Paper from start to finish. I wanted to take it from tree to paper and incorporate as many traditional processes/methods while doing so that I could.
Part of my goal was also to gain a better understanding of the processes, methodology and context of Nagashizuki sheetforming.
I would like to mention at this point that every part of the papermaking process uses freezing cold water, except cooking of course. The photographs below are a documentation of almost the entire process. They have been taken by Barbara Landes (who was working on the same final project) and myself. I will be posting some videos os a few steps shortly as well. The course was conducted by Timothy Barrett.

Harvesting Kozo out at the Oakdale campus. The trees are 1-2 years old, which is still old for Nagashizuki

The knife is kept at a nearly 45 degree angle and the branch is held under the arm of the non-dominant hand. Both hands are used to apply pressure away from the plant and cut the branch in one clean motion. Any smaller stems coming off are lopped off close to the main branch

The branches are steamed and ready when the outer bark pulls back a bit form the woody interiors to reveal a spot of yellow at the ends

The branches are cooled off using a stream of water

The outer bark is pulled away from the inner bark whilst forming a V shape in order not to have the fiber curl in on itself. This outer bark is what is used to make paper

The outer bark is separated from the inner woody bark while the branches are still hot from the steam

At this point, the branches can be hung up to dry for later use if desired

After peeling, the bark is scraped using a broad knife that is kept perpendicular to the wooden surface. The green bark is ideally scraped off in one smooth motion going with the grain of the fiber. Other impurities and decay in the fiber are cut off sharply using the knife

The fiber is left to dry overnight. It can be quite demoralizing to see the quantities of freshly scraped fiber be reduced to half its size on drying. After it is dry, the fiber is weighed

Some of the fiber that could not be scraped all at once was soaked in a bucket overnight. The next morning, the fiber that was not fully immersed in water had an unnatural aqua colouring to it that remained until the very end

Wood ash is covered in water and left overnight. By the morning the ashes sink to the bottom and the alkali solution or lye is what is used for cooking
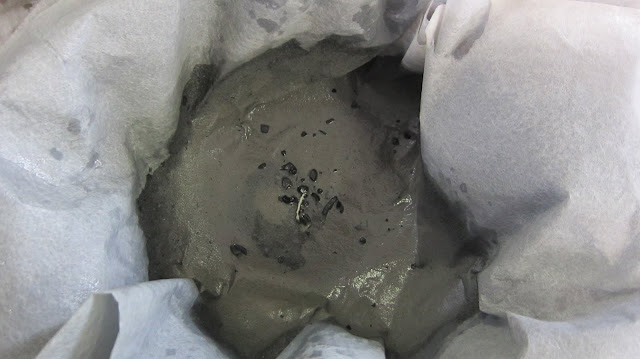
The Lye is filtered through a few layers of interfacing and a colander to filter out any impurities before it can be used

Lye solution
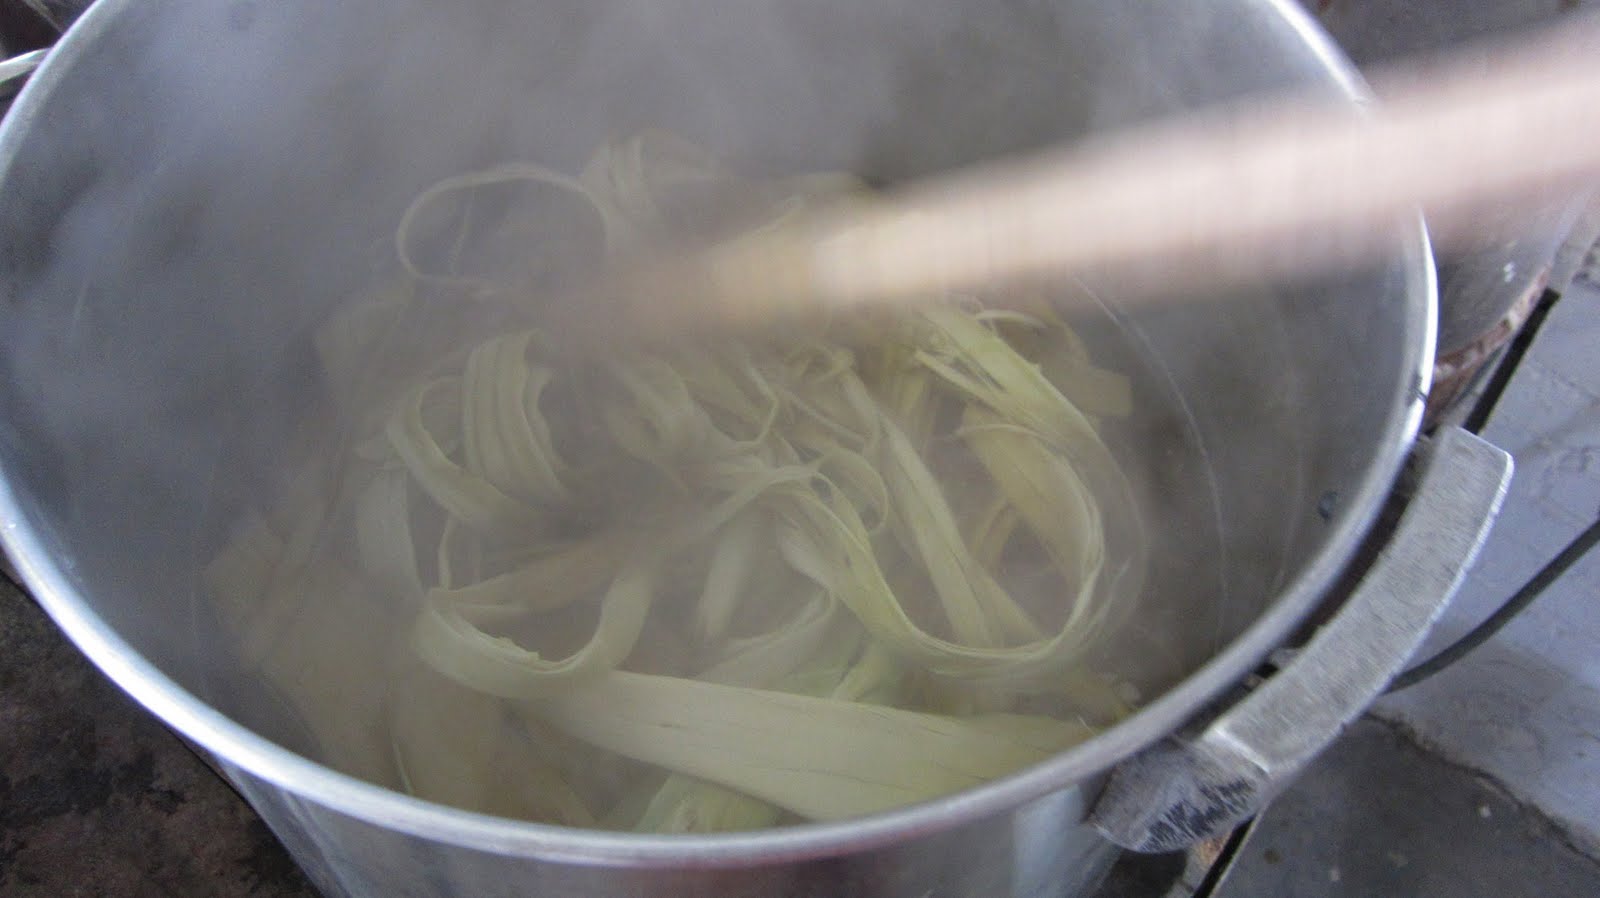
The fiber is cooked using a solution of lye and soda ash the percentages of which are calculated based on the dry weight of the fiber

The fiber is rinsed thoroughly after cooking. This makes the fiber lighter but also makes the final sheet less crisp

The fibers are floated individually in water and any remaining bits of black bark are picked clean

Beating the fiber with mallets for 1.25 hours

The Tororo-aoi (Hibiscus) seed pods are harvested before the first frost

The seeds are bagged and stored for re-planting next spring

The Tororo-aoi roots are harvested a few weeks after the seeds. The plants are uprooted and the roots lopped off

Mary washing out the Tororo roots carefully. They hold a lot of mud in between each root leg

The mucilage beings to come off even while washing

The Tororo-aoi roots are beaten using a flat wooden mallet

The roots are soaked in freezing cold water and either left in the refrigerator or outside overnight whichever is colder

The roots and the water they have been soaking in, is poured into a colander through which it drains slowly into a pillow case

It is then squeezed through the pillow case back into the colander through which it slowly collects in a bucket

The Nagashizuki sheetforming set up
 Sheetforming
The sheets are separated using string less than 1/4" away from the edge. Each sheet stays separated even after pressing because the hydrogen bonding that takes place between the fibers within each sheet is stronger than any bonds that could be created between two sheets when pressed together

The string is placed randomly on top of the post after the last sheet has been couched to indicate the top of the pile

A large bucket is placed on top of the post a water source is left dripping into it overnight

The post is sandwiched between two blotters to remove any excess water. The sheets are then carefully separated using the string

The sheets are carefully brushed onto a metal dryer and pulled off with care when dry

Dry stack of paper!

A fairly even sheet formation as seen in transmitted light. There are some stringy bits of fiber that appeared despite beating for over an hour. This was perhaps due to the fact that the trees that were harvested were 2 years old