Sunday, November 4, 2012

Peeping Tom

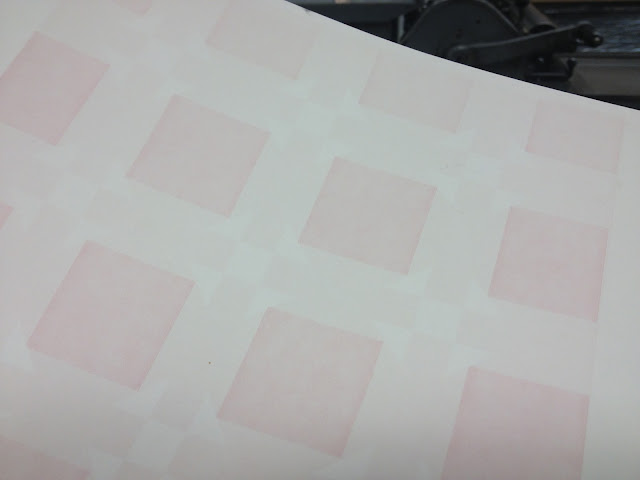
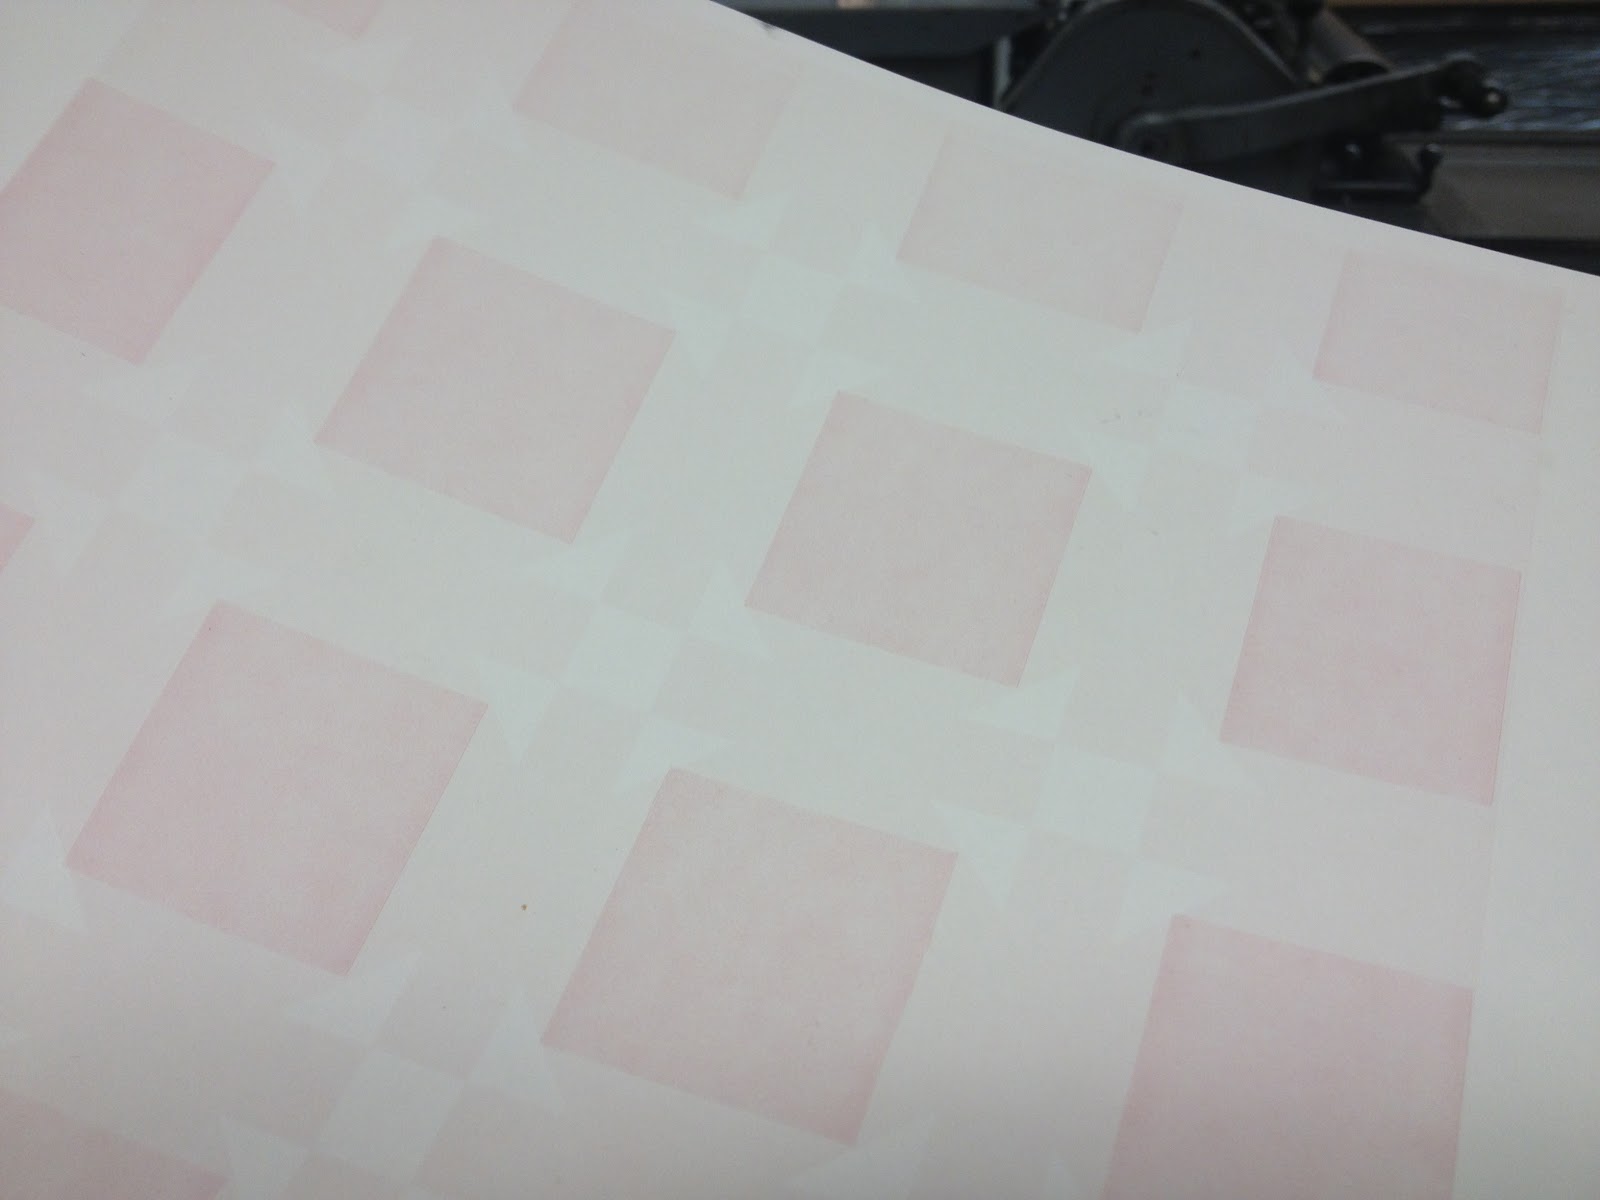
This book was made for my Artists' Book Class. We had about three weeks to put it together from start of finish. It was letterpress printed using three polymer plates made according to the crease pattern based on Eric Gjerde's Origamic tessellation.


It is made to resemble an apartment building anywhere in the world where the viewer looks through tiny windows and into the lived of the various inhabitants of the apartments. The viewer can pop each of these squares or window into a 3-dimensional square.


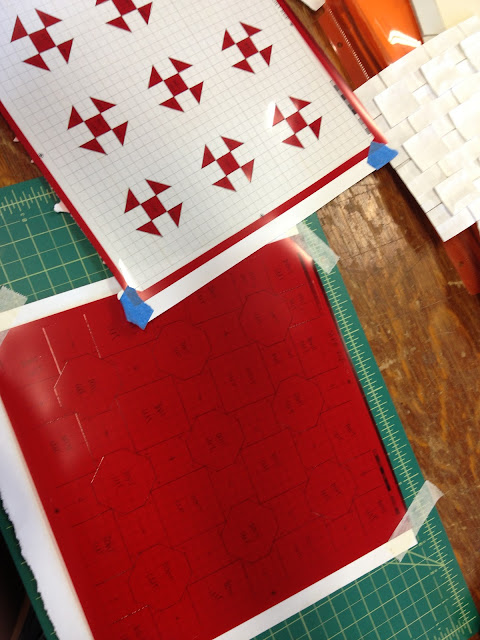
Cutting the rubylith for the first plate to print the lightest run. What stays on the mylar, doesn't print.


Thats the Rubylith for the second run in the back


Cutting the rubylith for the third rand darkest run.


It peels off pretty easily


I cut an extra 0.5" margin on all four sides so account for any registration errors.


Plate 3 fresh out of the oven a.k.a platemaker!


A jig I used initially to help me register the proper placement of the print.
I eventually ended up cutting more paper of a different size to fix this issue.


Registering the first plate to the boxcar bases. The printed grid was a lifesaver!


Run 1


A maroon I mixed with with a lot of transparent white


Plate 2 on the press bed


Run 2


Plate 3 on the bed


Run 3


Many many registration problems!


But finally after torquing on the plate on the press bed (no easy task) it finally registered!


The colophon was printed on 10" by 10" sqaures


Colophon


Cut-outs for windows


Cut-outs post pochoir!


Testing the cut-outs to make sure they print a clear image.


Testing for pochoir on unfolded prints v/s folded prints.


Folding the grid to prep the print for the tessellation. Each side has to be folded into 32-nds


Final pochoir


A set of 3 make one book


Folding the tessellation


One page folded and pochoir-ed!


Boxed in blue case paper. The title and the images in the book have been cut-out and then stencilled using guache


The book opens out into a 3-panel accordion


Each of the flat squares or windows can be popped up!


There are a total of 27 windows to peek through


Some scenarios seem vaguely familiar :)


Friday, July 13, 2012

Sanganer : Haath Kagaz

As some of you may know, I have become increasingly interested in Traditional Islamic Papermaking over the last year or so. You can see the sheetforming method here. I have been researching this method of handpapermaking in India and reading as much as I can about it. Last winter I took a trip to Orchha to look for the Kagazis that I had heard were still making paper the old way. But to my disappointment, that was a dead end. I followed another lead that led me to the Kagazi Mohalla in Sanganer last month. This post is about my findings.


Mohammed Husain Kagazi sits on the left next to wife and grand daughter


His son, Zakir Husain now continues the trade in his father's place. He is joined by his two sons


The paper is still made in the traditional islamic style 


The fiber used is Sunn or Hemp, that Husain sources from Uttar Pradesh. Sunn used to grow in abundance by the river in Jaipur but over the years as the quality of the water has deteriorated, so has the quality of fiber.
It yields a darker and weaker paper that is no longer suited to their needs


The old papermaking vat, dug below ground level.
Muhammed Husain spent years 
bent over this vat making sheets of paper day in and day out


A woven grass mat or chapri constitutes the mould surface, upon which the pulp settles


The women make the chapri using the stems of a particular grass that grows by the river


To achieve the desired length, the stems are spliced together using the thinner and sturdier heads of the stalks. 
This process of splicing and weaving is painstaking and can take months


The chapri is woven with the aid of a frame


A detail


It is then placed on this wooden frame or mould and held in place by deckle sticks


This is what is then dipped into the vat to make a single sheet of paper


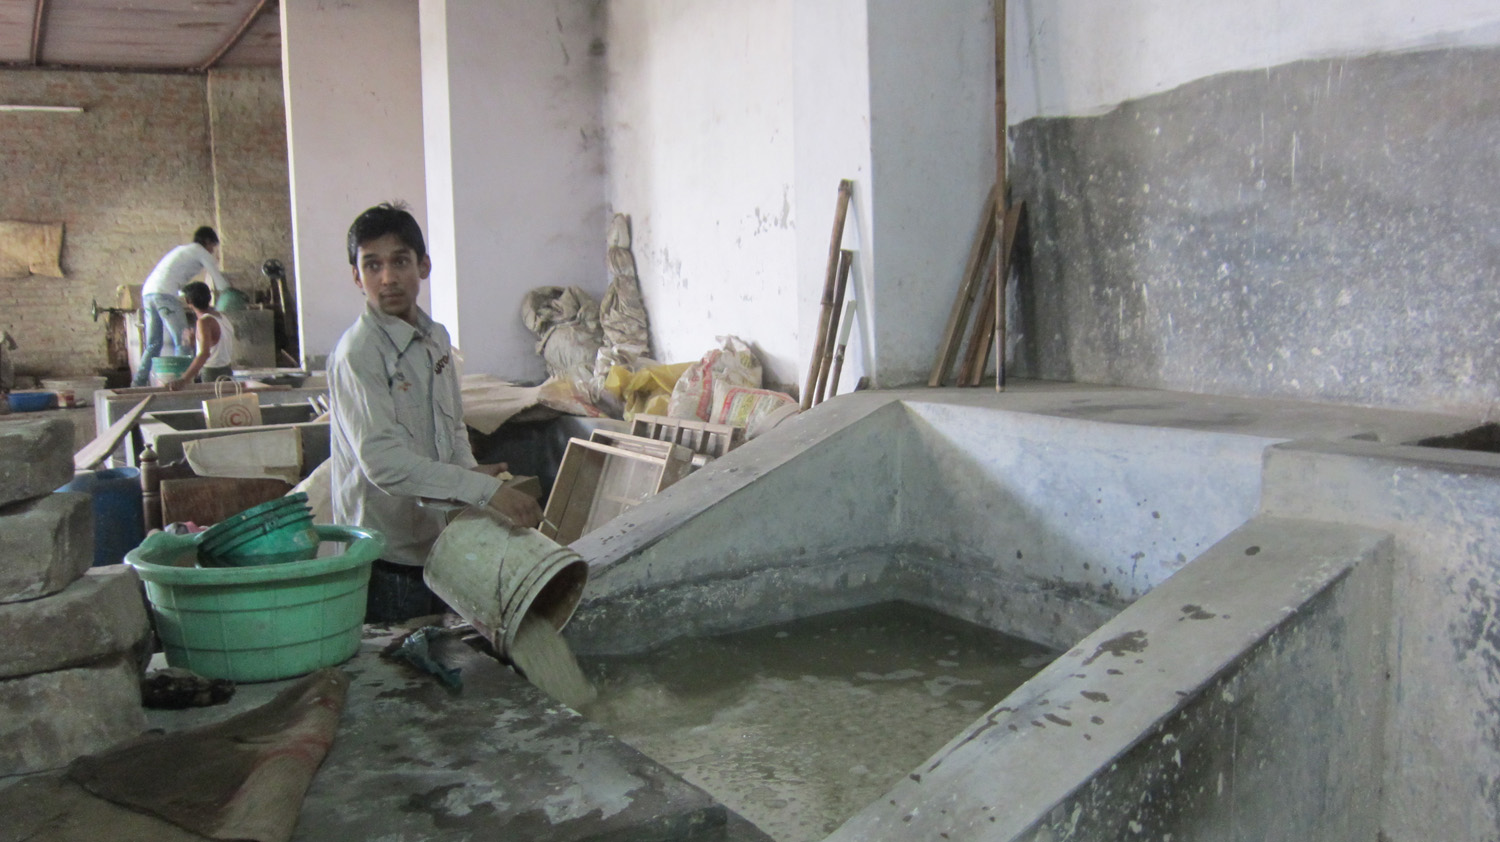
The vatman adds pulp to the vat a bucket at at time.
He fills enough to make 100 sheets of paper in one sitting


The vat is then stirred vigorously for many minutes. It is then left to settle before actual sheetforming


The paper is brushed on using a brush made of stems of bulrush


Husain's wife brushes on the pressed sheets onto the walls to dry


The paper dries pretty fast in the heat of the summer


After it is dry, the paper is then 'brushed' with this porous chest bone of a camel. 
This removes any stray fibers sticking up from the surface of the sheet 


The smaller sized paper is then burnished by hand. 
For the larger sheets, the paper is put through a calendaring machine


The paper is burnished using a smooth agate stone


Some of the paper is naturally dyed. The dye is brushed onto both sides of the sheet


Indigo is sourced in cakes form Gujarat


Kachcha Kathha


A root that gives a red dye


A plant that gives a yellow dye


Tesu, that gives a yellow dye


The paper being made when we visited was being used to re-write and make copies of various religious texts. The coloured papers were going to be used for the same purpose and would have been calligraphed on with gold


Friday, May 25, 2012

Spring 2012 : History of Western Letterform

Yet another amazing class I took this semester conducted by Cheryl Jacobsen. I took it for historical credit but the amount of work made me want to take it as a studio and turn in a beautifully executed final project instead of a 12 page paper. We analysed a new hand every week using Historical Scripts by Stan Knight. The class focused on learning how to analyse a hand and write it. I will post the analyses soon.


The book has an image of a leaf from the manuscript on the verso,
a close up view on the recto followed by
a detailed description of the hand itself and its history


The seven step analysis helps reverse engineer how a hand was written in order to replicate it. 
The seven steps to be determined are : the weight (number of pen widths to letter height),
 the angle of the stroke, the weight, the shape of the letterform,
the speed with which the hand was written and
the Ductus - which is a map indicating the number, order and direction of strokes


We had to write pages and pages of the hand after determining the above mentioned criteria.
This image is of Roman Half Uncials, written with a quill


Click on the image to take a closer look


As one of our assignment we went to the Special Collections Library

and looked at real live manuscripts from different time periods.
We had to identify and analyse any one of the hands


This is an example of Rotunda. You can see the digital archives here