Wednesday, September 4, 2013

Glimpses

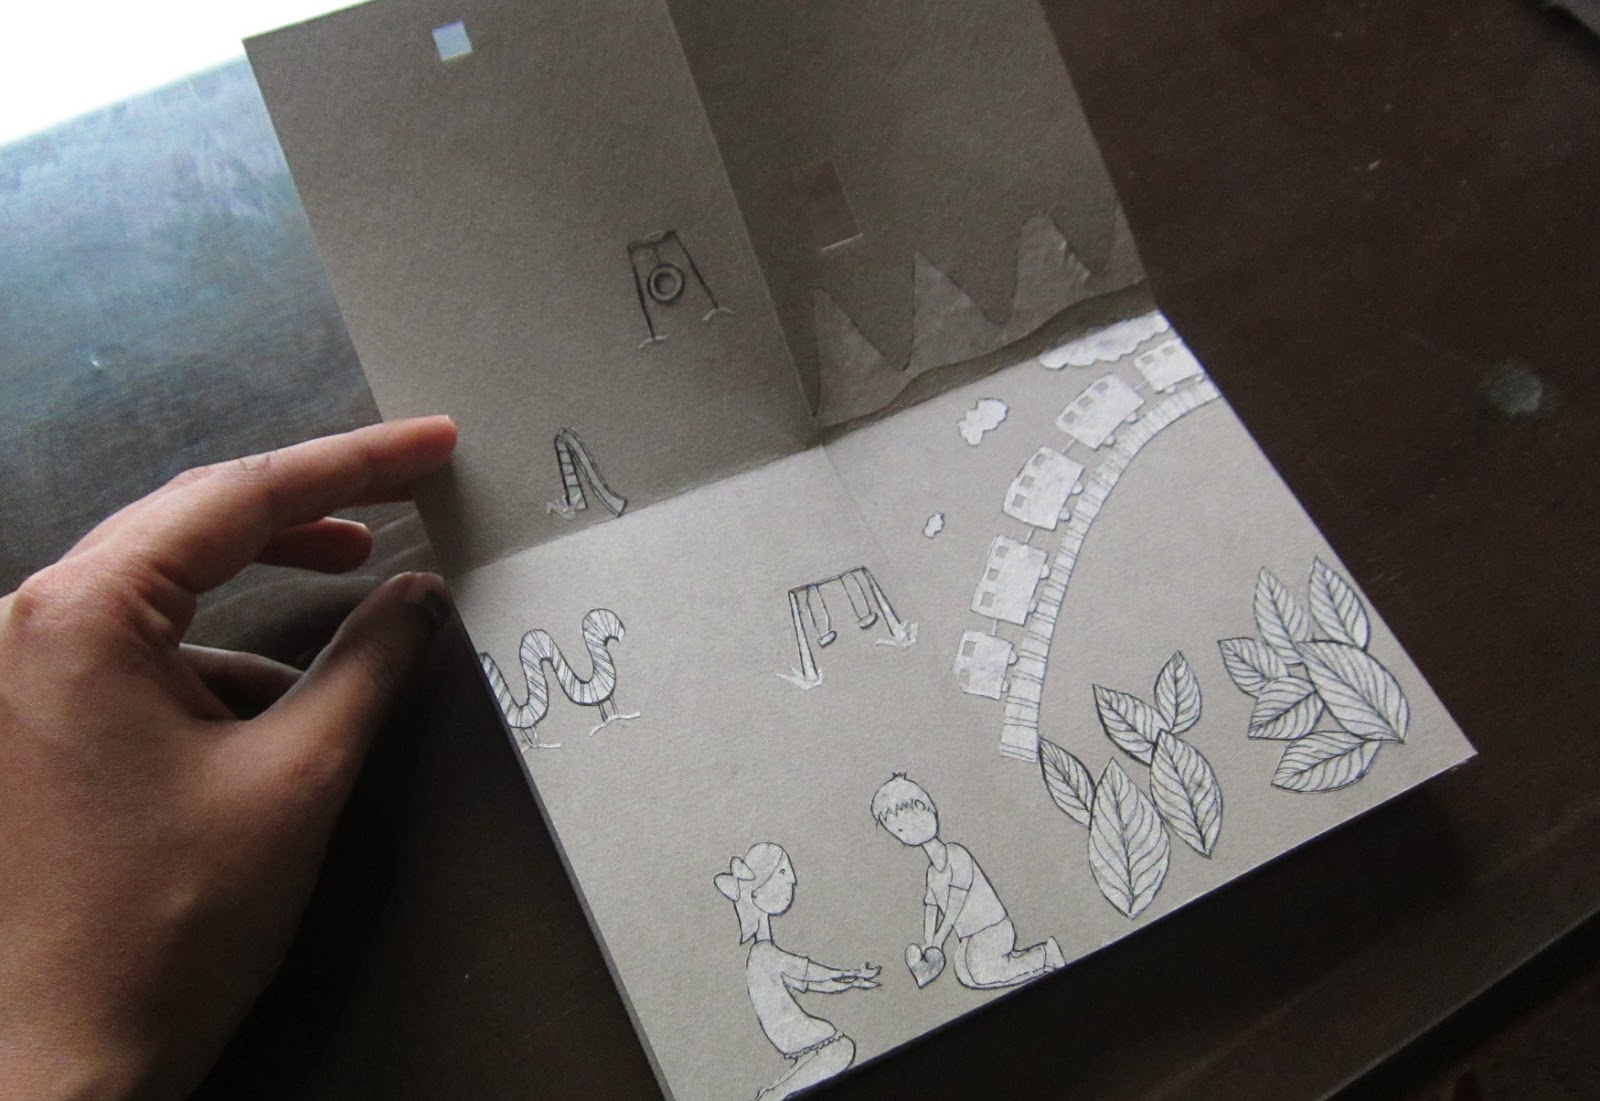
This is another artist book that I made in Emily Martin's class last semester. The assignment required us to create pause. The illustrations were done on handmade Kozo harvested from the UICB Oakdale facility and then cut and glued onto their grey background.


Tuesday, June 11, 2013

Historical Book Structures

This semester I took the amazing and extremely intensive Historical Structures class with Julie Leonard. It was at the end of the semester that we realized how much work we actually did! We took on five major time periods within which we could pick 1-2 structures to take on and complete in the few weeks devoted to each section. The deadlines on all projects were rolling, so we could work on everything simultaneously through the semester. This was a boon, because as expected, some books took alot longer than others. Here are two structures completed during this class that havent been otherwise blogged about.


Ethiopian binding sewn with multiple needles. This book is typically covered in leather.


For this binding I made a telescoping case with UICB Case paper, called a Dafat Madar.


Dafat Madar, typically made with leather.


Limp Vellum binding, made with a paper case with alum taw used as sewing supports. 


The taw is pulled through the case. The holes have to made slightly smaller in diameter so that they really hold
the book block in place. The holes for the endbands are made even smaller, 
as the taw used for the enband bore is thinner is width.


The endband is sewn around a rounded alum taw core with hemp thread.
These books tend to cave inwards at the spine, so the spine was reinforced with a minute amount of pva.


Typically these bindings have yapps at the foredge. Each yapp is 1/3rd of the thickness of the book.
Yapps were made to protect the foredge.


Monday, June 10, 2013

Historical Book Structures : St. Cuthbert Gospel of St. John

This semester I took the amazing and extremely intensive Historical Structures class with Julie Leonard. It was at the end of the semester that we realized how much work we actually did! We took on five major time periods within which we could pick 1-2 structures to take on and complete in the few weeks devoted to each section. The deadlines on all projects were rolling, so we could work on everything simultaneously through the semester. This was a boon, because as expected, some books took alot longer than others. As a class we worked on one book together - The Stonyhurst Gospel or St. Cuthbert Gospel of St. John, a small 7th century gospel book. It took three tried for me to get the sewing right! 


12 sections with varying folios in each one are held firmly in a finishing press. The sewing stations are then cut into the spine forming a V.
They have to be quite deep in order to cut through the innermost folios


The sections when ready are sewn with 4 lengths per needle of #60 thread.
Sewn on 4 stations with two needles. The thickness of the threads rests in each V cut along the spine.


The boards are prepared with birch wood, the corners of which are sanded down till curved.
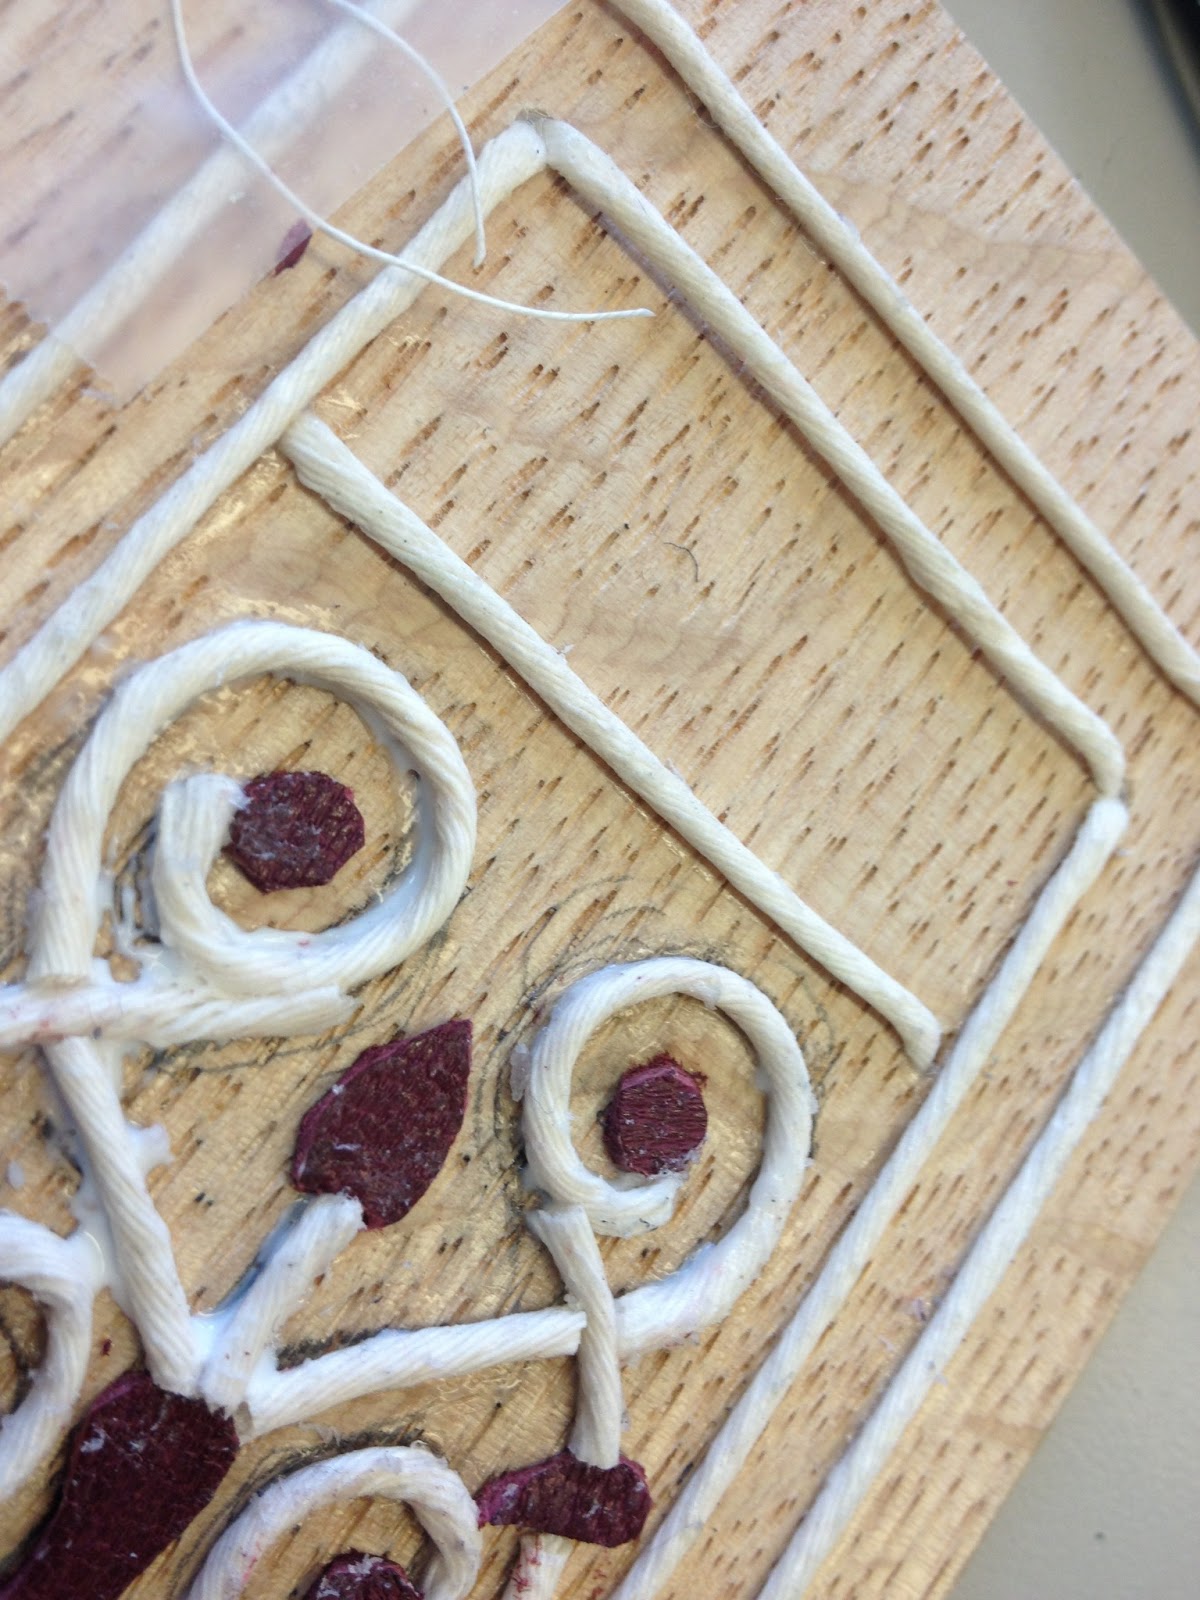
Holes are drilled for the sewing stations as well as the thread for moulding the leather.


The back of the board looks like this. The threads are stiffened with PVA before being pulled through.


The ends are then cut with a sharp knife to recreate the flat surface.


Like so...


The other embellishments are built up using thread and pieces of leather


I wanted to cut down on the amount of leather I was using in this class as much as possible.
So I decided to do a cut-away book, so that half of the innards would be exposed. That way I can also use it as a teaching model!


The leather was thinly pared by a classmate. I could not deal with paring leather with the schar-fix!
It was just too creepy to watch all that skin falling off in little flakes. It was then moistened with water on the hair side.
Paste was then applied to the flesh side. It soaked in a lot, so I was liberal with the application.


 The leather is then doubled over on itself and left to sit, making sure the hair side doesn't dry out.


I then folded the leather over the top of the book  and began working it with my fingers.


After about 5-7 minutes it started to look like this


I used a micro spatula and a small bone folder applying gentle pressure on either side of each thread. The leather would slip constantly with the slightest of pressure. After a while keeping it wet wasn't working. It needed to retain shape, and so it had a dry bit by bit while working it.


After another 10-12 minutes it starts to take shape.


And finally ater about 20 minutes, it starts to resemble the actual book vaguely.


A bit more work time and it looks better. I finally pressed it in a nipping press using a lot of foam
on both sides and light boards. This helped shape it a bit more and help the air out.


The next day I re-moistened the turn-ins, applied more paste and worked them in to complete the book.


The corners are pinched up...


...and cut off.


Leaving a small tongue to cover up any board that tries to peek through.


The finished book after the tooling.


I followed the pattern exactly. It was hard trying not to make it perfect.


The back of the book.


Everyone's finished books!


Saturday, March 23, 2013

Taking Stock

This is a book I worked on for my Artists' book class this semester. The idea was to catalogue all my belongings in Iowa City and categorize them according to the materials used in their making. I have slowly become overwhelmed by the amount of material possessions I own, thinking about what will live on after I die, what will decompose and disintegrate, what I would take with me if there was a fire or a flood, what would survive what wouldnt, what of what I own is the most important to me and what defines its importance. All these thoughts came together to make this piece.


I started out by doing some rough drawings just to catalogue everything I owned. After alot of editing, I scratched them out onto negative film to get them ready for polymer plate making


After a lot of thought, I decided to categorize them according to the materials used to produce them


The categories were 100% metal - mostly metal; 100% plastic - mostly plastic; organic : cloth, wood, glass, edible and mixed materials which included things like cords, wires, laptops, phones etc.


The plate right before washing. It was exciting to see that it actually turned out!


The finished book! Inset title


Accordion open


Details


For scale


Details of materials made of 100% Metals - Mostly Metals


Details of Organic : Food, Glass