Sunday, November 16, 2014

Hand Papermaking Portfolio: Negative Space

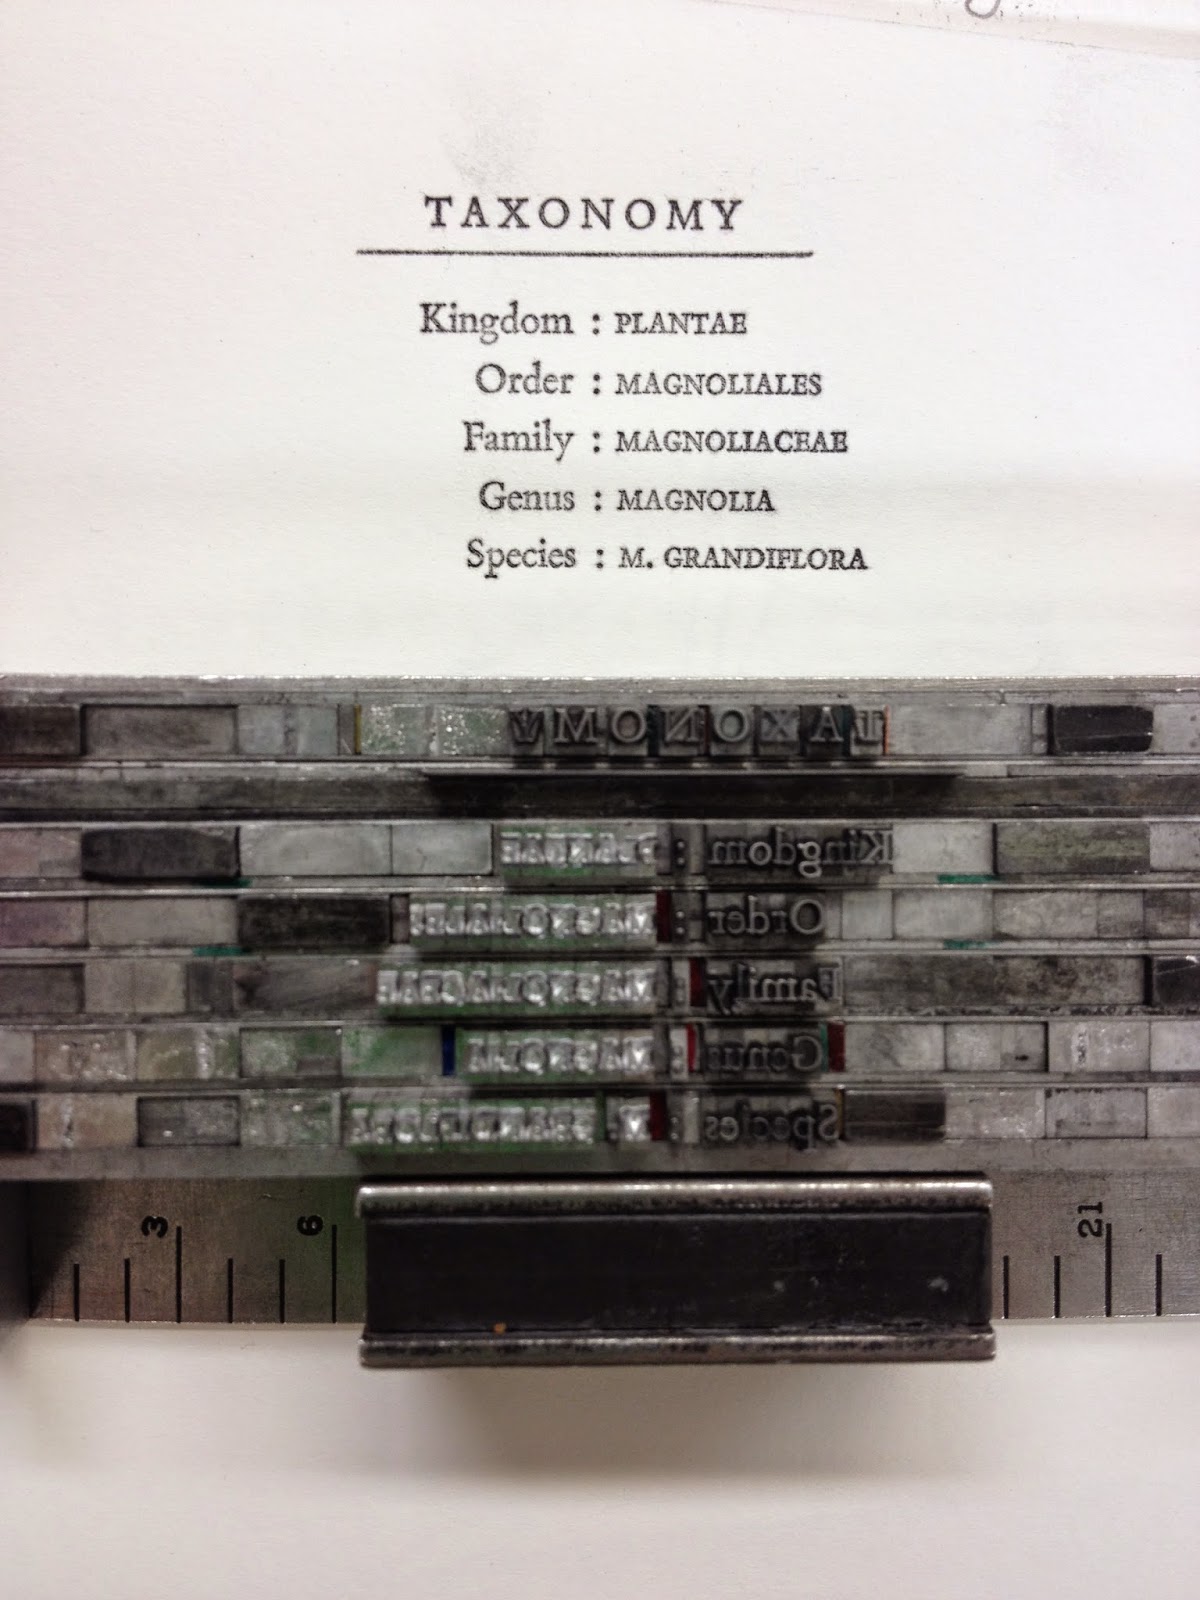
Our proposal for a submission for the Hand Papermaking portfolio themed Negative Space was accepted last year. We were excited first, and then overwhelmed by the amount of work that was involved in creating 152 pieces needed for the portfolio. The great thing about participating in the Portfolio is that we each get one at the end! Anne Covell, Steph Rue and I worked together on this laborious project. The idea was to embed silk threads in between two sheets of abaca. The threads varied in colour, and went from dark brown all the way to the colour of the paper. They seemed to melt into the sheet and become invisible. The plan was to lay them out in a grid 1/4" apart from one another. In the middle, they would create a negative space as they melted into the sheet.


The test sheets were threaded using a gradation of blue silk threads.
We decided only to thread a portion of the frame and make a smaller sheet for the test


The frame was laid face down and centered onto the sheet of paper. The threads that weren't completely taut, absorbed the water from the sheet first, and remained in the position they were in when the frame was first laid down. They couldn't be re-positioned afterward.


The second sheet was then couched on top of the first carefully, and then pressed in a hydraulic press


The sheet after pressing


The test worked, and was accepted as part of the proposal. Now it was time to begin


The frame being threaded. We decided to make the sheets large enough to get eight out of a sheet. This way we needed to only make 30 or so sheets, accounting for wastage and mishaps


Threading completed - for one sheet


The frame was laid face down and centered onto the sheet of paper. The threads that weren't completely taut, absorbed the water from the sheet first, and remained in the position they were in when the frame was first laid down. They couldn't be re-positioned afterward.


The frame was carefully lifted and transported to the wet area to be couched. Vyvek strips were laid down prior to placement. These would act as cutting surfaces for the threads


The threads were carefully repositioned. Some that had already sunk to the surface of the sheet couldn't be recovered, 
but the others often could


It took all three of us to lift and reposition so as not to disturb any other threads


Post-pressing. Placing the second sheet on top of it was a stressful challenge.


After pressing!


Ta Da! The finished sheet. It was hard to get the threads to stay in the grid despite our best efforts, but we did manage to finish the edition, and each individual piece looked pretty good! Being included in the portfolio along with all the other artists was quite an honour. I will be posting photos of the finished piece in the portfolio as soon as I have it in my possession.


Update 3 and show!

After printing for about eight or nine weeks, I finally have some room to breathe and write another update. I have to say, so far it hasn't been as stressful as I thought it would be. I got everything I had to get done with time to spare. The show reception is in 4 days!


Starting to letter-space the small caps


 The biggest disaster (I was waiting for this one) was that all the sheets of handmade paper stretched and dried at different rates after dampening. I trimmed them all individually by hand with help from the wonderful Julie Leonard, who is on my committee. Disaster averted? Kind of. Each sheet needed to be placed differently on the feed board in order to register the next press run in the right place. I made a sort of jig to help with that. Luckily most of these sheets were translucent enough to see through.


 We got new windows in the graduate print room! The light comes in around 4 pm and hits the press bed in a yellow splash! Here is the last text run on the title page - for the pink ornament


 Cutting up the individual flaps for assembly


 Measuring for the hinge on the Deluxe edition


 Finished Hibiscus Rosa-Sinensis


 Finished Magnolia Grandiflora


 Finished Nelumbo Nucifera


 Lotus pod mounted


 Magnolia aggregate fruit (left) and Hibiscus pod mounted


The show!


Vitrine with stop motion animation process work


Vitrine with the folded form, standard and deluxe editions of the book, and a few of the reduction blocks showing process


Saturday, September 27, 2014

Update 2

After almost a month of printing everyday except three, for nearly ten hours at a time, I am finally finished with one-third of the book. The bulk of the imagery has been printed and now I am moving on to text! I'd forgotten how long it takes to get the type and ink just right. It took me three days to get the right black and the right spacing, sorts and impression. I am printing on the handmade paper after dampening. It stretches almost a quarter of an inch in each direction! Its a scary prospect thinking of how that will effect registration for the imagery later.
For now, here are some images from the past couple of weeks:

Nelumbo Nucifera. The light is a bit low on this one.
There is no natural light in the room in which I am printing, at the moment!


The Hibiscus Rosa-Sinensis. The stamens still need to be printed. Its a touch more pink in real life


Magnolia Grandiflora. This print is on the Biblio, which I am using for the standard edition. The strings attaching the seeds to the aggregate fruit still need to be printed


Finally, on to the text


I mized small amounts of warm red, yellow and pro blue to make a richer blackI had a lot of trouble getting the black to print right - and then I was reminded that I suffer from Chronic Under-inking, or the fear of over-inking.


But finally, I got the black that I wanted! The paper I made prints beautifully once its dampened.
The text looks very crisp and readable.


Thursday, September 18, 2014

3-dimensional Paper Sculpture with Melissa Jay Craig

This August I attended a five day workshop with Melissa Jay Craig at the Morgan Paper Conservatory - a huge warehouse with all the book arts facilities you could possibly want in one giant, open space. The atmosphere at the Morgan was extremely welcoming and inviting. People were very warm, kind and interested in the workshop and each others' work. Melissa is an extremely skilled generous instructor who was an absolute pleasure to work with. She helped me forward my thesis work during the class.


 Looking in from the back end of the space, where they have their own Kozo garden!


The large paper making facility


The entrance opens into a large divided gallery space with lots of natural light and rotating exhibitions. The current show on display was called Revive and Renew showcasing contemporary artists who work with eastern papers


The letterpress studio is to the right of the gallery


Melissa's beautiful work


She cast this piece over river stones. Each part of this piece has been carefully painted by hand using fabric dye


We learned many different techniques for sculpting paper. One was dip casting (the shaped face on the left). Another was casting wet sheets over wire armatures. The wire would rust lending an artifact like quality to the piece


The other involved embedding wire in paper and letting it air dry. The highly beaten fiber shrinks as it dries and the wires morph with it


 The third and most beautifully seamless method was casting wet sheets over removable armatures

  
Melissa also covered Kozo dyeing and casting


The Kozo is lightly beaten to soften it up for making bark lace


It is teased apart carefully using your fingers and formed on an armature. Here Melissa is shaping it using a teflon folder


 Trying to make a shape suitable for a dip casting test. Needless to say, this attempt failed -
or rather, it would have taken many several dips to fill in those large spaces


A way of forming a sheet of a piece of wire without embedding it


The air dried sheet gets a soft texture and retains the shape the wire gives it


The first test for a removable armature, stuffed with fiber fill. The Lotus seed pod would be a two part mould. This is the bottom half of the piece. At this point, I was testing to see how much the paper would actually shrink, so I made the armature larger than it needed to be


The top half was fun to make. The strips of wet paper are laid down horizontally for the first pass, and then vertically for the next two passes. There is a layer of methyl cellulose between each layer. In order to make the holes where the seeds would eventually sit, I used an awl to part the fiber on each layer.


It helped using a dark coloured cloth for the armature because that way I could see the layer underneath a lot better


We used unbleached abaca for this class, so as it dried, it became a lot darker. The base piece for the pod is drying at the back


The two pieces dried and sitting together. They can be re-shaped when the colour is added. Painting on the dye helps cover any overlaps or attachments that would be visible in a piece like this one. It also re-introduces moisture into the paper allowing for re shaping.
Making the seeds


Making the Lotus root in three separate parts. Because the shapes were so awkward, the fiber fill that the armatures were stuffed with had to be removed with tweezers. This makes the armature collapse after the piece is dry, making it easy to remove!


The second layer of paper

The third layer


Adding some bark lace to the bottom gave it a bit more life


The root all finished, ready for staining


I chose to stain the pieces with a blue dye. The colour represents the humidity, which is something that has always been present every time I've seen a Lotus. It also represents the Cosmos, which is what the Lotus symbolizes