Saturday, September 27, 2014

Update 2

After almost a month of printing everyday except three, for nearly ten hours at a time, I am finally finished with one-third of the book. The bulk of the imagery has been printed and now I am moving on to text! I'd forgotten how long it takes to get the type and ink just right. It took me three days to get the right black and the right spacing, sorts and impression. I am printing on the handmade paper after dampening. It stretches almost a quarter of an inch in each direction! Its a scary prospect thinking of how that will effect registration for the imagery later.
For now, here are some images from the past couple of weeks:

Nelumbo Nucifera. The light is a bit low on this one.
There is no natural light in the room in which I am printing, at the moment!


The Hibiscus Rosa-Sinensis. The stamens still need to be printed. Its a touch more pink in real life


Magnolia Grandiflora. This print is on the Biblio, which I am using for the standard edition. The strings attaching the seeds to the aggregate fruit still need to be printed


Finally, on to the text


I mized small amounts of warm red, yellow and pro blue to make a richer blackI had a lot of trouble getting the black to print right - and then I was reminded that I suffer from Chronic Under-inking, or the fear of over-inking.


But finally, I got the black that I wanted! The paper I made prints beautifully once its dampened.
The text looks very crisp and readable.


Thursday, September 18, 2014

3-dimensional Paper Sculpture with Melissa Jay Craig

This August I attended a five day workshop with Melissa Jay Craig at the Morgan Paper Conservatory - a huge warehouse with all the book arts facilities you could possibly want in one giant, open space. The atmosphere at the Morgan was extremely welcoming and inviting. People were very warm, kind and interested in the workshop and each others' work. Melissa is an extremely skilled generous instructor who was an absolute pleasure to work with. She helped me forward my thesis work during the class.


 Looking in from the back end of the space, where they have their own Kozo garden!


The large paper making facility


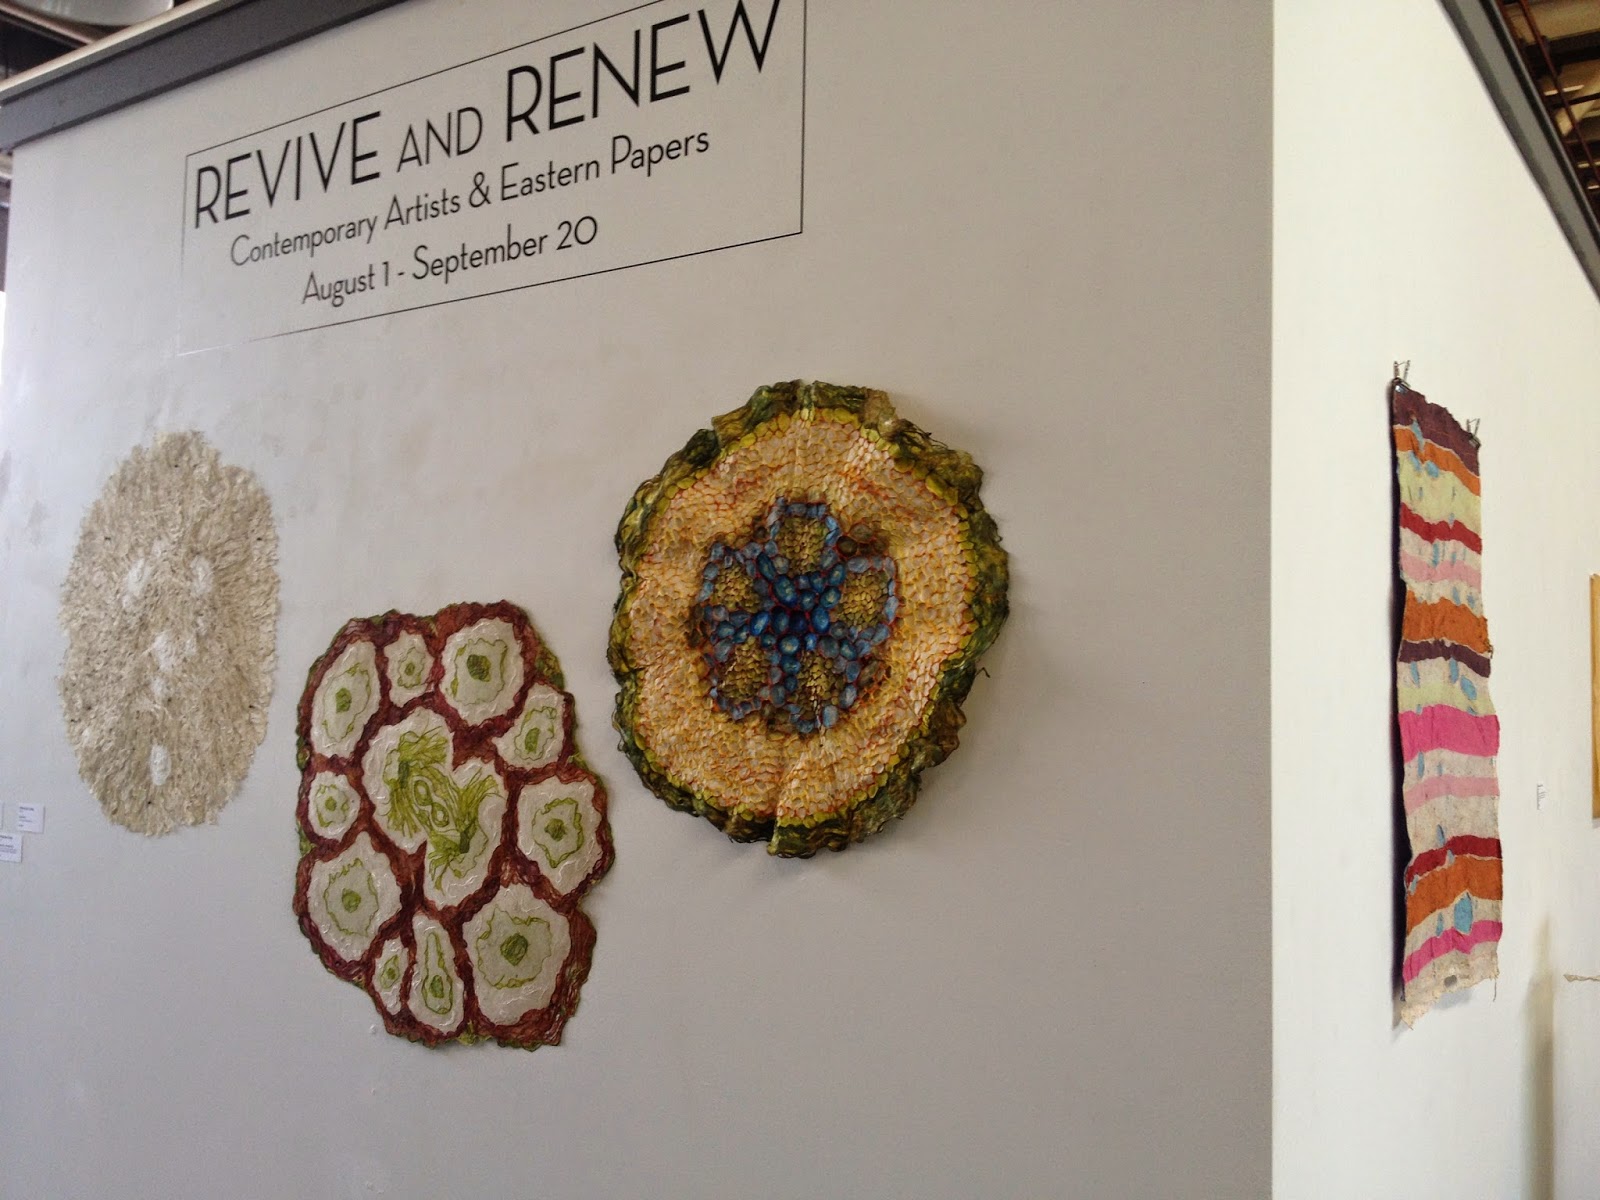
The entrance opens into a large divided gallery space with lots of natural light and rotating exhibitions. The current show on display was called Revive and Renew showcasing contemporary artists who work with eastern papers


The letterpress studio is to the right of the gallery


Melissa's beautiful work


She cast this piece over river stones. Each part of this piece has been carefully painted by hand using fabric dye


We learned many different techniques for sculpting paper. One was dip casting (the shaped face on the left). Another was casting wet sheets over wire armatures. The wire would rust lending an artifact like quality to the piece


The other involved embedding wire in paper and letting it air dry. The highly beaten fiber shrinks as it dries and the wires morph with it


 The third and most beautifully seamless method was casting wet sheets over removable armatures

  
Melissa also covered Kozo dyeing and casting


The Kozo is lightly beaten to soften it up for making bark lace


It is teased apart carefully using your fingers and formed on an armature. Here Melissa is shaping it using a teflon folder


 Trying to make a shape suitable for a dip casting test. Needless to say, this attempt failed -
or rather, it would have taken many several dips to fill in those large spaces


A way of forming a sheet of a piece of wire without embedding it


The air dried sheet gets a soft texture and retains the shape the wire gives it


The first test for a removable armature, stuffed with fiber fill. The Lotus seed pod would be a two part mould. This is the bottom half of the piece. At this point, I was testing to see how much the paper would actually shrink, so I made the armature larger than it needed to be


The top half was fun to make. The strips of wet paper are laid down horizontally for the first pass, and then vertically for the next two passes. There is a layer of methyl cellulose between each layer. In order to make the holes where the seeds would eventually sit, I used an awl to part the fiber on each layer.


It helped using a dark coloured cloth for the armature because that way I could see the layer underneath a lot better


We used unbleached abaca for this class, so as it dried, it became a lot darker. The base piece for the pod is drying at the back


The two pieces dried and sitting together. They can be re-shaped when the colour is added. Painting on the dye helps cover any overlaps or attachments that would be visible in a piece like this one. It also re-introduces moisture into the paper allowing for re shaping.
Making the seeds


Making the Lotus root in three separate parts. Because the shapes were so awkward, the fiber fill that the armatures were stuffed with had to be removed with tweezers. This makes the armature collapse after the piece is dry, making it easy to remove!


The second layer of paper

The third layer


Adding some bark lace to the bottom gave it a bit more life


The root all finished, ready for staining


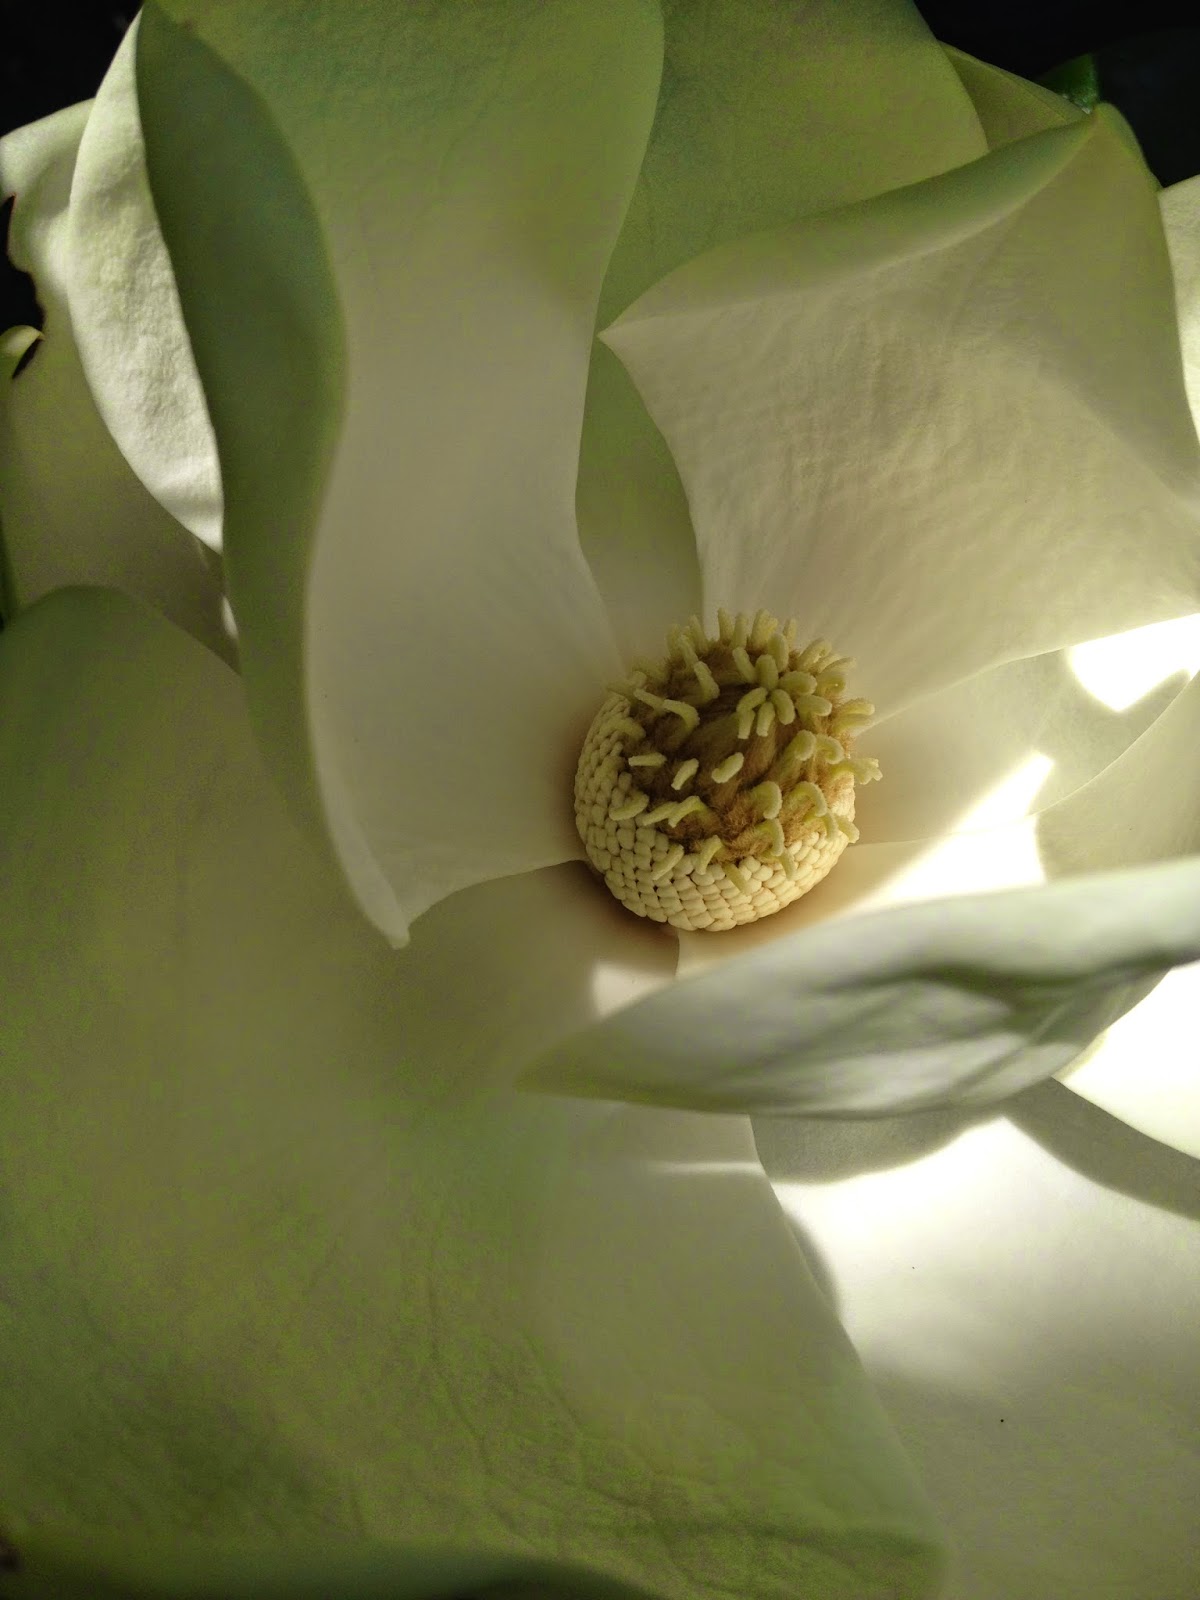
I chose to stain the pieces with a blue dye. The colour represents the humidity, which is something that has always been present every time I've seen a Lotus. It also represents the Cosmos, which is what the Lotus symbolizes


Wednesday, September 17, 2014

Update

I have been chipping away at my thesis work this summer and these past months, besides attending class and teaching a class (Bookbinding 1!)- keeping up with this blog has been hard. This post is about what I have been working on. This idea came to me during Katherine Tachau's Book in the Middle Ages class last fall. Looking at  botanicals at the Hardin Rare Book room along with anatomical flap books inspired me to make a book that was a hybrid of the two - a book of botanical anatomies. I wanted to imbue in this book, the aesthetics I had been researching for class. After many months of fleshing out the idea, I finally decided upon a body of work that consists of a handprinted book of botanical anatomies, a watermark stop motion animation and cast paper sculptures. The anatomies in the book are based on the anatomical flap books from the 16th century. I am focusing on three species of flowering plants that greatly influenced my perception of the natural environment during my childhood and young adulthood.
The plants are Nelumbo Nucifera or Sacred Lotus, Hibiscus Rosa-Sinensis or Red Hibiscus, and Magnolia Grandiflora. The book consists of 20 spreads in total. I have done a lot of leg work for it already, and started printing about two and a half weeks ago. Printing everyday for nearly 12 hours a day is the only way I can complete the 110 runs needed to complete the book! Besides that, I need to collate, cut, assemble, trim, sew, and make boxes for the books - not to mention the written thesis, the animation, and the sculptural works - all before November 10. 


Chancing upon the Magnolia Grandiflora at the Kew Gardens in London this summer


 Carving the Magnolia linoleum block

 Hibiscus


Changing the image and carving


Carving the block showing the different stages of the maturation of the Lotus pod.


Setting the type for this book took a few days. I still have not set the conclusion, colophon or any of the titles at this point. I wanted to set everything in Joanna, as I am extremely partial to that face, but had to switch to Bembo as we have more 10 pt Bembo that 10 pt Joanna. It was a tough call, but one that had be made.


I made about 345 sheets of paper in May to print the deluxe edition of this book. The paper is 80/20 - cotton/hemp paper. It took three or four solid days out at the Oakdale paper facility for me to make all the paper.  


 It took almost two weeks or more for the paper to dry with the surface texture I wanted to achieve. I did a number of drying tests and finally concluded with Tim's guidance that spur drying the sheets in spurs of 8-

- then separating and misting, and then drying in between felts two at a time, kept under weight in a hand crank press was the best way to achieve the subtle texture I wanted.

 This allowed for some character in the finished sheet without compromising print quality. 


The 345 sheets, ready to be cut!
The standard edition is being printed on machine-made Biblio.
Needless to say, it took me about three full days to cut all this paper down.


Phew!

 Making a large sheet of abca for the folded form part of my thesis work. This piece will be printed on and folded to resemble and behave like a diaphragm that imitates the inhalation and exhalation movement of our bodies

All set up to print! September 02.


I am printing using a stencil to mask off certain areas. This way I don't have to carve one block for each colour. It saves on material costs, and this way I feel like I have some more control over the process. I am printing all the imagery first since that is the most time consuming part. I have chosen to do reduction linoleum for all the images. Each illustration has taken between 6-15 runs to create.


 Building up the layers of colour for the head of the Lotus flower


The three pink runs. The graphite lines are visible on this proof


 All the prints drying. This particular spread is a run of 70


 Carving away the Hibiscus for the second run of red


 The final and fourth run of red for the head of the Hibiscus


 Its rather small


 Printing white for the first run of the Magnolia


 The Magnolia was tough to print. The first run was opaque white with a little bit of transparent. The second run was yellow, opaque white and transparent and the third grey layer was silver mixed with transparent white, opaque white and a touch of black. So far, getting the colours exactly right is taking me the longest


 The first run of green on thethe Magnolia,


 on the Lotus, 


and on the HIbiscus